
Installation on Windows
This document describes the Install Process of the nimbusec Server Agent under Windows Server 2008 and 2012. The Server Agent adds extended functionality to the nimbsuec service.
Installation
- Download the appropriate version of the Server Agent for your Server from https://portal.nimbusec.com/einstellungen/serveragent
- Copy the the downloaded file to your server and extract its contents. You can choose freely where you want to keep the files. The only requirement is that the user, that will run the Server Agent can access this location and execute the binary.
Task Scheduling
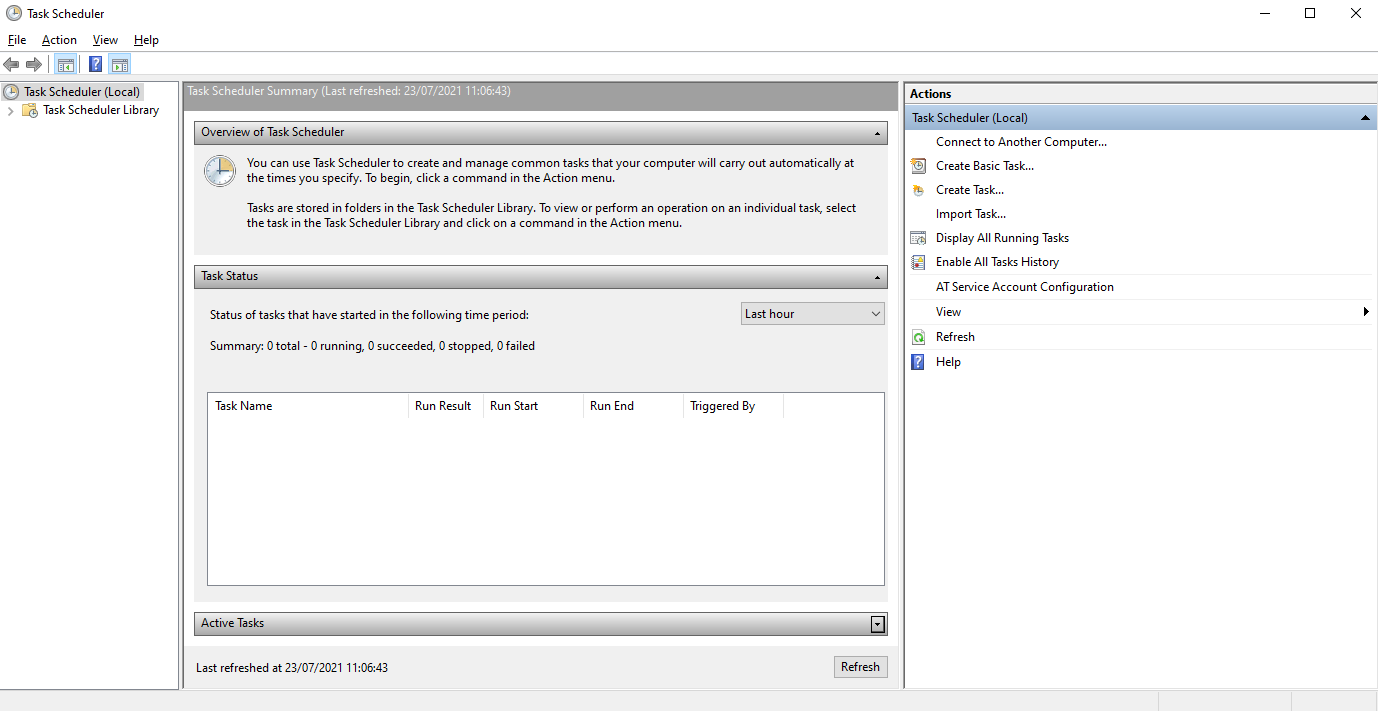
- Open the Task Scheduler

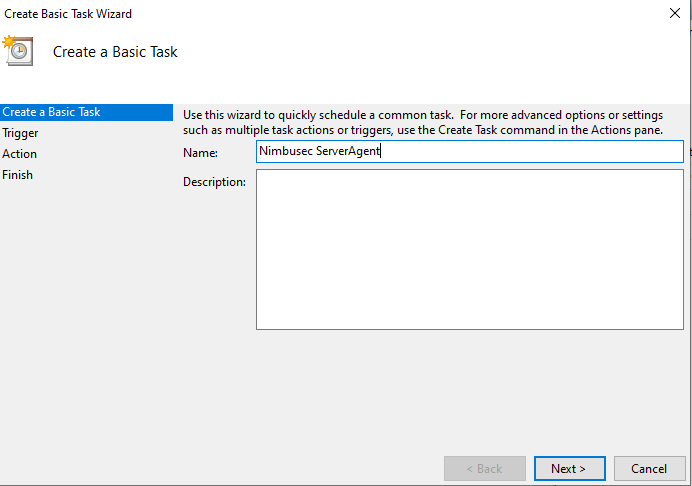
- Select 'Create Basic Task'
- Enter a name of the new Task

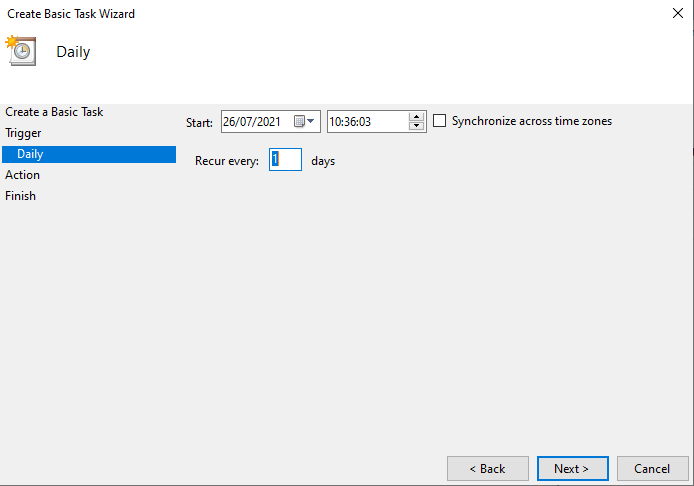
- On the next two screens you can select how often the Server Agent should be run

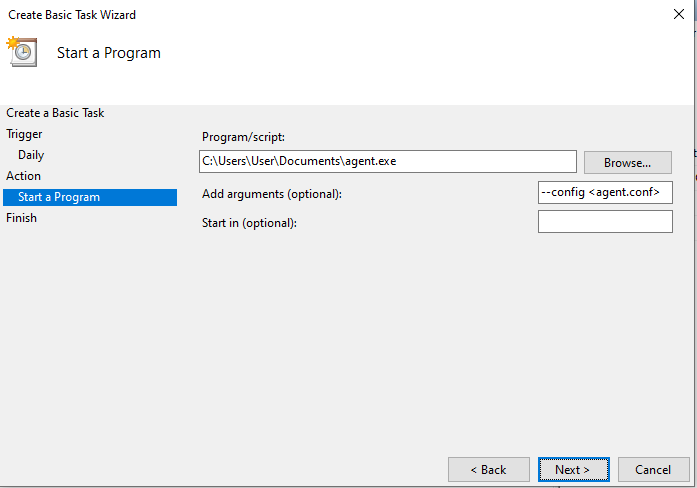
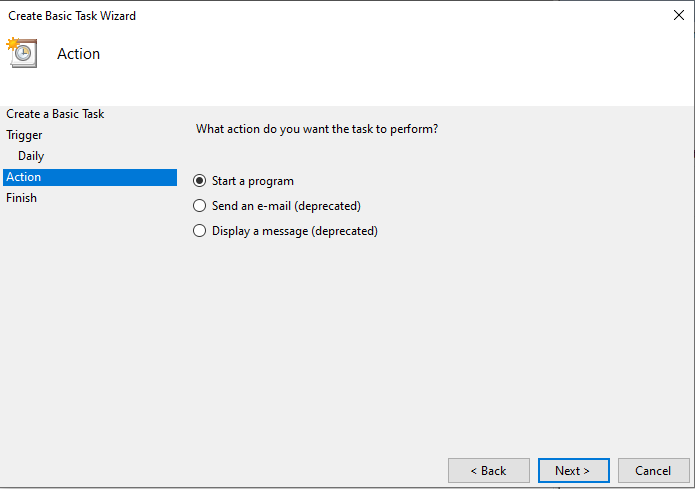
- Select 'Start a Program' as Action for the Task

- Click on Browse to select the Server Agent (agent.exe). In the Field 'Add arguments' add the string -config < C:\path\to\agent.conf > (replacing < C:\path\to\agent.conf > with the path to the config file)
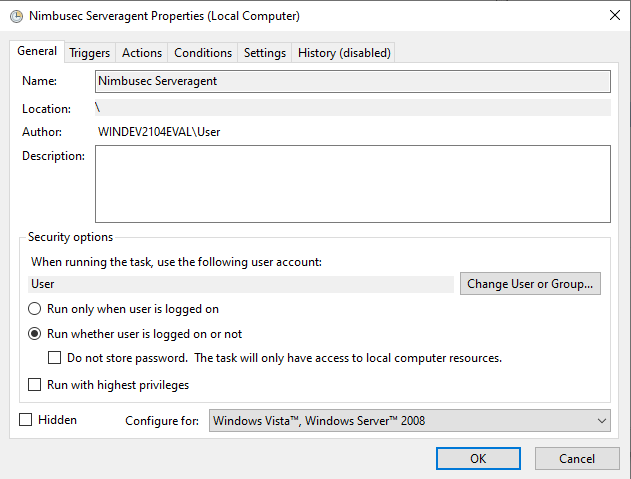
- On the next Screen please tick the checkbox 'Open the Properties dialog for thes task when I click finish' and confirm the screen by clicking 'Finish'
- A new windows will open where you can select which User should execute the Server Agent. Please make sure to select 'Run whether user is logged on or not'. Otherwise the Server Agent will not be run in the background.


Proxy Configuration for Server Agent
To enable use of a proxy for upload to the Nimbusec API, set the environmental variable "http_proxy" using following syntax: http_proxy=http://[user:pwd@]proxy-ip:port/ For the Windows Command Prompt an example would be: 'set http_proxy=http://username:pwd@meinproxy:8080'
No comments to display
No comments to display