
Installation on Linux
Installation
This guide describes the installation of the Nimbusec Server Agent. The Server Agent is optional for the function of the product, but improves the detection rate greatly. Therefore, it is strongly recommended to install the Server Agent. Installation on Linux and BSD Installation.
Requirements
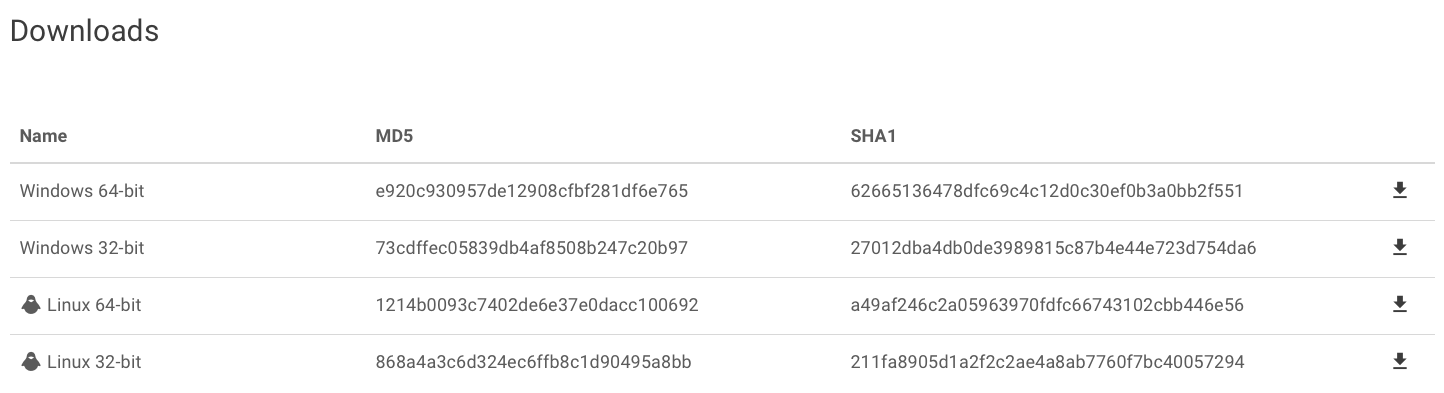
- Download the right Server Agent version for your operating system and architecture from the nimbusec portal.
- Copy the downloaded file to your server (e.g. via scp)
- Create a directory for the Server Agent installation. This can be any directory you like, but we recommend a directory like
/opt/nimbusec - Move the Server Agent and the configuration file in the newly created directory
- Make sure the Server Agent file is executable:
chmod +x /opt/nimbusec/agent - Create a (e.g. daily) cronjob to execute the agent

Create a Cronjob
We recommend two different ways to run our Server Agent:
Method 1: cron.daily
The easiest method is to install a script under /etc/cron.daily. This script will get executed on a daily basis, but the exact time is system dependent. The script would look like the following (make sure it's executable):
/etc/cron.daily/nimbusec
#!/bin/bash
/opt/nimbusec/agent -config /opt/nimbusec/agent.conf
Note: This cron job will run the nimbus-agent as user root! It is not required, nor recommended, to run the Server Agent as user root! To run the Server Agent as a different user, see section Security.
Method 2: crontab
To get more control over the exact time when the agent is run, create a cron job. A cron job to start the Server Agent every day at 1am would look like this:
0 1 * * * /opt/nimbusec/agent -config /opt/nimbusec/agent.conf
Note: It is not required, nor recommended, to run the Server Agent as user root! Please add the cron job to an appropriate user, see section Security.
Security
We strongly recommend to run the Server Agent as different user than root.
It is neither required, nor recommended, to run the Server Agent as user root. This section will describe the steps necessary to run it as a different user.
Select a user for the Server Agent to run as who has the following permissions (Recommendation: Run the Server Agent as the same user, as the web server is running or with a different user that has the same permissions as the web servers user):
- The user must have read permission on all files and directories it should scan and monitor.
- The user must have read permission on the configuration file.
- The user must have write permission for the temporary file specified in the configuration.
- Adapt the cron job to start the Server Agent as appropriate user (in the examples as
www-data):
If you have to use the cron.daily method, change the script to something like this: /etc/cron.daily/nimbusec
#!/bin/bash
su -c "/opt/nimbusec/agent -config /opt/nimbusec/agent.conf" www-data
or
#!/bin/bash
sudo -u www-data /opt/nimbusec/agent -config /opt/nimbusec/agent.conf
If you use the traditional crontab method, simply add the cron job to the appropriate user instead of root:
crontab -u www-data -e
Run Server Agent in chroot environment
If you want to further restrict the Server Agent, you can also run it in a chroot environment. Our support will be glad to assist you.
Proxy Configuration for Server Agent
To enable use of a proxy for upload to the Nimbusec API, set the environmental variable "http_proxy" using following syntax: http_proxy=http://[user:pwd@]proxy-ip:port/
An example would be: 'export http_proxy=http://username:pwd@meinproxy:8080'
Logging
You may want to log error messages to a logfile instead std.out. Thats of course no problem. Just pipe the output of the agent to the desired file location like this:
/opt/nimbusec/agent -config /opt/nimbusec/agent.conf > /opt/nimbusec/logs/agent-out.log 2> /opt/nimbusec/logs/agent-err.log
No comments to display
No comments to display